
Dependent fields derive their values from other fields, as suggested by their name. This feature allows for the dynamic display of additional information based on the value selected in a parent field. As a result, the dependent field will be updated automatically whenever a work item is modified or a new work item is created.
Learning Goal: How to build dependent fields in a Jira Work Item using “External Data for Jira”.
Learning Level: Intermediate
Use Case: Adding a dependent field to the work item that displays a user's email based on a pre-selected contact person's ID.
Basic requirements:
-
A Company Managed Space
-
Existing Custom Fields (Parent Field, Dependant Field)
-
A Data Source
Setting up a Dependent Field
Go to the "Field Configuration" tab, and add a new configuration and select “Dependant Field” right after.
Adding the Context Filter
In this use case, we select "Sample Data 1: All Customers" as a data source and use a context filter to filter the data based on the custom field 10078 which contains the customers ID.
For the purpose of this demo, we have selected "Sample Data 1", as our data source, which we offer as part of the app for testing purposes. You can generate the demo sample in the settings tab.
This is how our context filter expression will look like:
$.result[?(@.id=='{$.issue.fields.customfield_10078}')]

Note: If you encounter any errors during this step, please double-check that you have selected a value in the custom field within the Jira work item that is used for simulation the configuration.
You can find more information about how to use a context filter in our documentation.
Adding the Value to your Dependant Field
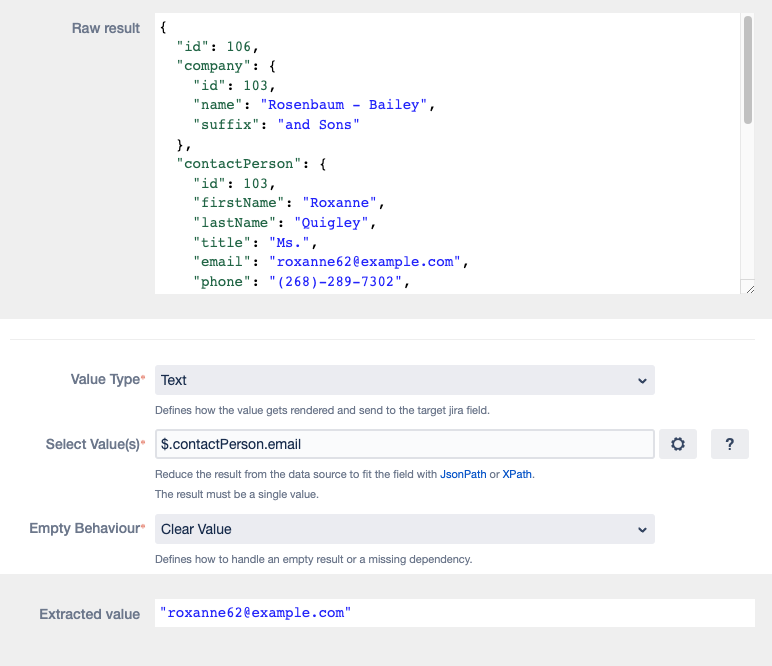
We choose "Text" as the value type for our dependent field, and specify the values of our JSON result that we want to display.
We'll select the JSON path $.contactPerson.email, to display the email of the pre-selected user.
Note: You can also use our expression builder to choose the desired JSON path.
Creating Custom Expressions
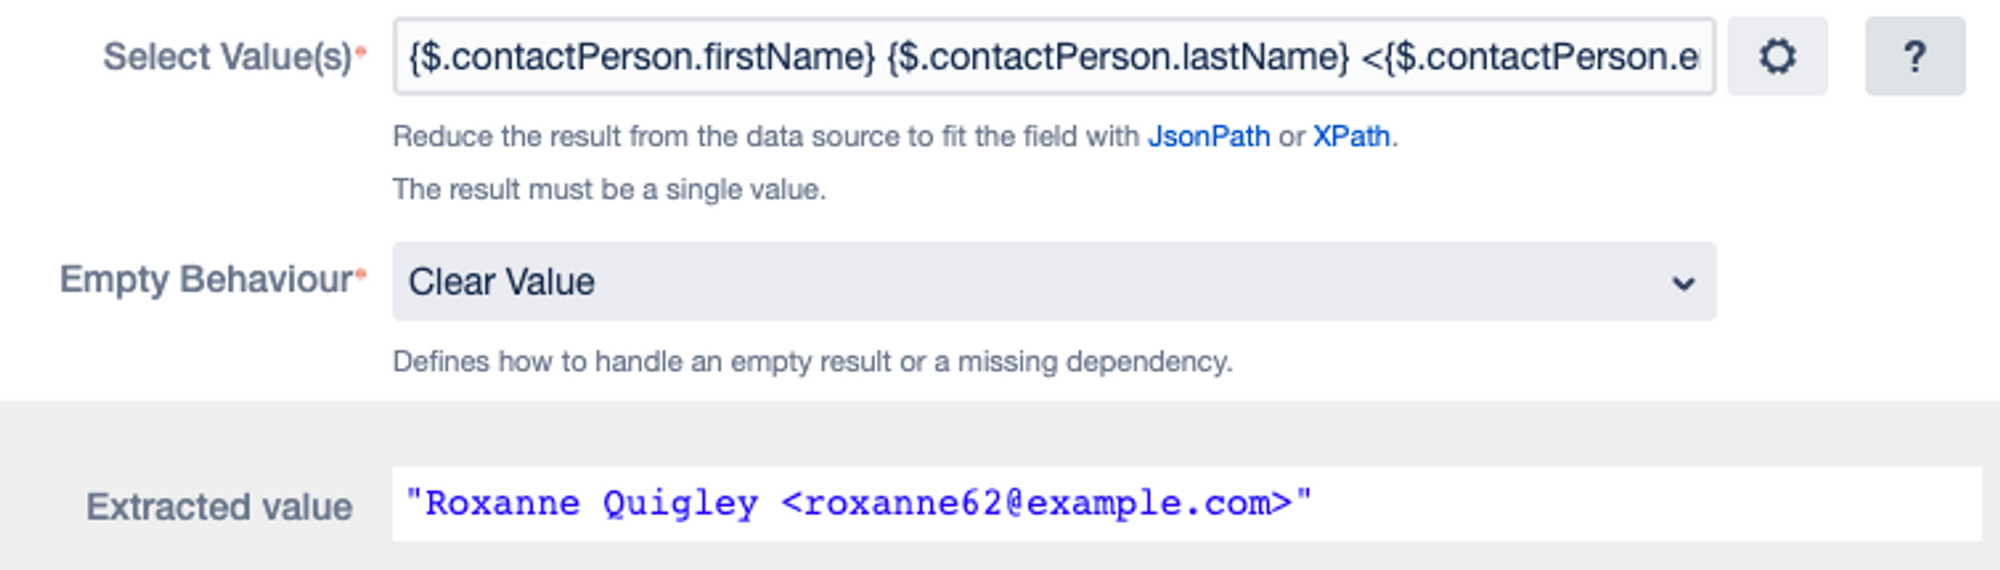
You can also individualize your value output by building custom expressions. For example, you can add the first name and last name of the contact person to display the full name of the user along with the email.
{$.contactPerson.firstName} {$.contactPerson.lastName} <{$.contactPerson.email}>
Selecting the Target Output Field
As our last step, we have to select the target custom field for our dependent field.

Switching back to our Jira Screen, we can now see the new dependent field display the full name with email based on our previously selected customer's ID.