Once you are done setting up the connection to Snipe-IT, you can configure spaces individually.
Go to the space configuration screen:
-
Either by clicking on the Configure button in the app listing
-
Or under ⚙️ Settings > Marketplace Apps > Snipe-IT for Jira > Configuration > Space Settings
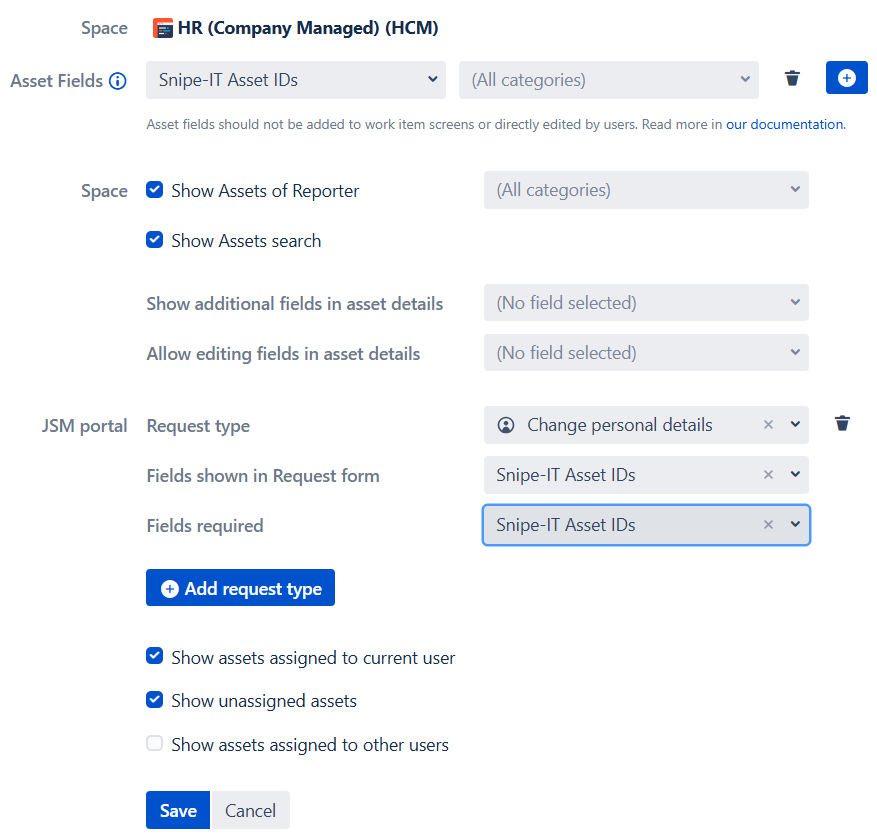
You can configure Fields to link assets to Jira work items. Each field can contain one or multiple assets, represented by their IDs. For each field, you can also configure the categories of the assets that can be linked.
The asset fields configured do not have to be added to work item screens, and should not be directly edited by users. Once configured, they will always be shown in any work item of the space, and can be used to link assets to the work item.
In Project, you can configure the features that will be enabled on the space level. For example, showing the Assets of Reporter in a Jira work item, or adding the Asset Search page to the space menu.
If the space is a Jira Service Management (JSM) space, you can also configure in which Request Types JSM users will be able to link assets. Similar to the fields, you can define what categories of assets will be supported by each request type. The fields where JSM users can select the assets will carry the names of the fields you have added to the respective request types and will be located on the bottom of the request from.
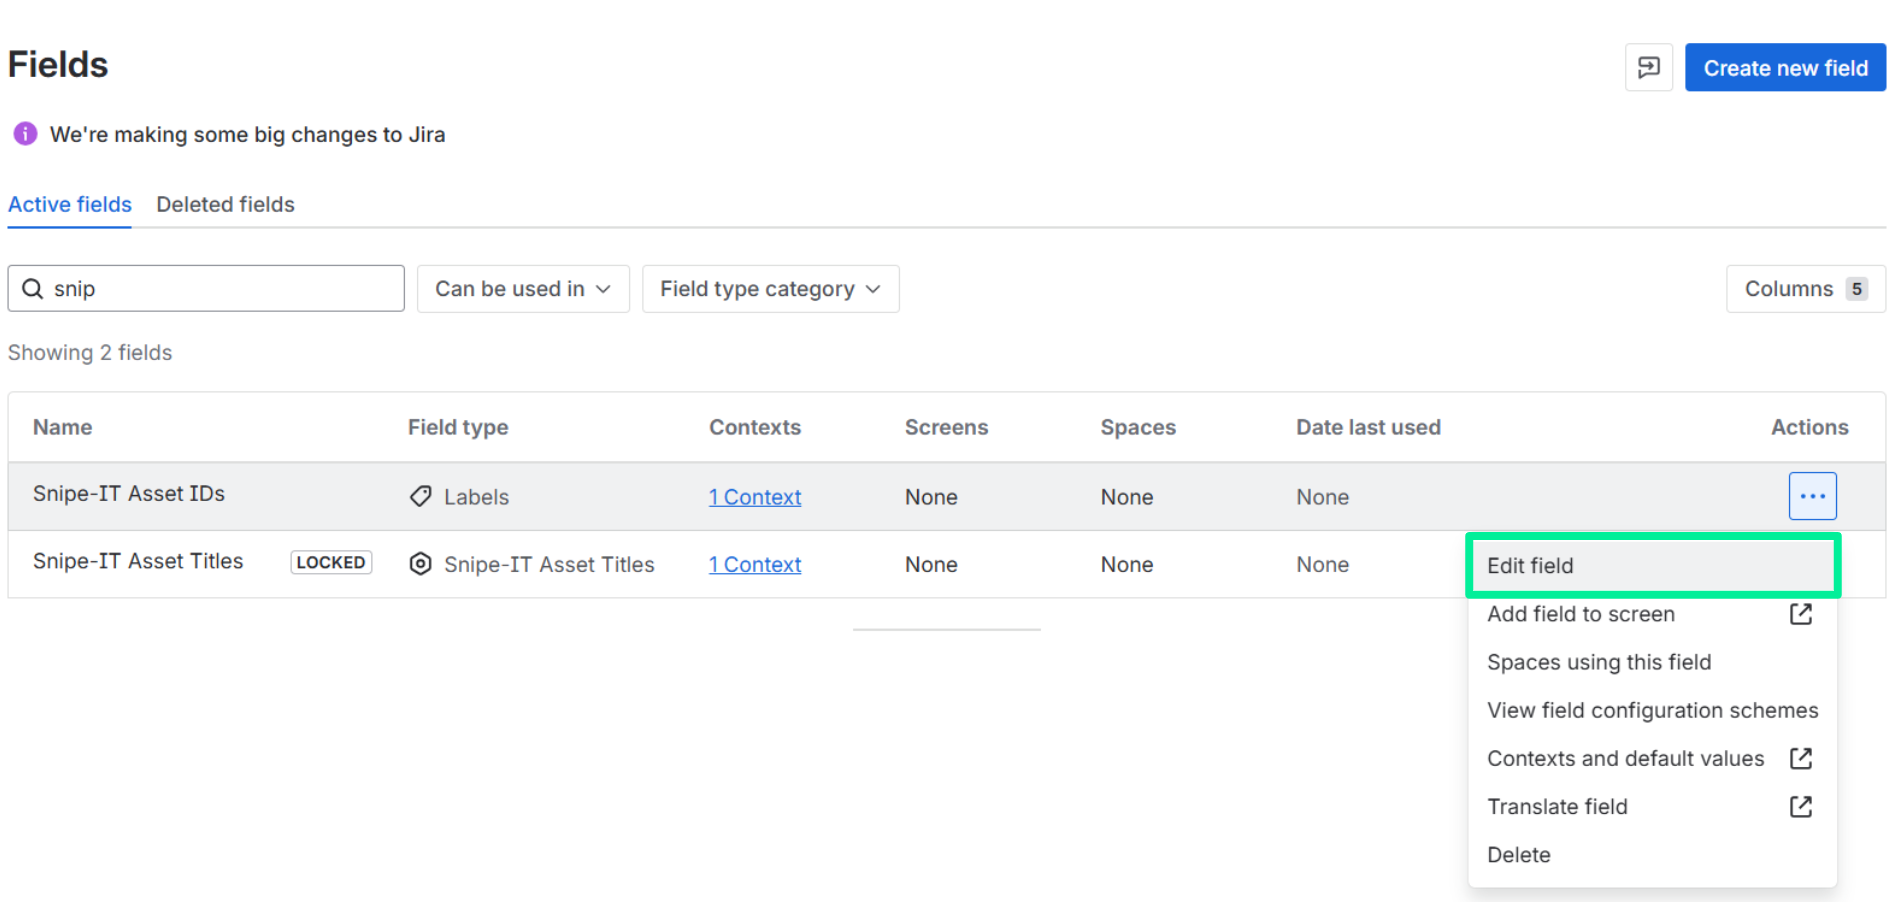
Changing the asset field name
If the custom label field has an unsuitable name to be used on a request form, it’s possible to rename the custom field like any other custom field by going to ⚙️ Settings > Work Items > Fields there you can search for the field you want to edit and edit by clicking the three-dots > Edit details.