
If you are moving your spaces or work items to another Jira instance and would also like to migrate assets linked with Snipe-IT for Jira, there are a couple of things you need to keep in mind.
Moving Work Items:
If you are only moving some work items with linked assets to another instance, this relatively straight forward. You need to move/clone the work items with the custom field values that you used to store linked assets.
If you want to simplify this process, you can use our app Deep Clone for Jira. Deep Clone will map the custom fields automatically, as long their names are identical. Read more on cloning work items across instances here.
If you manually map the work items, you need to make sure the custom field values of your Asset Field in the original instance is transferred to the corresponding custom field that is used as an Asset Field in the target instance.
Moving Entire Spaces:
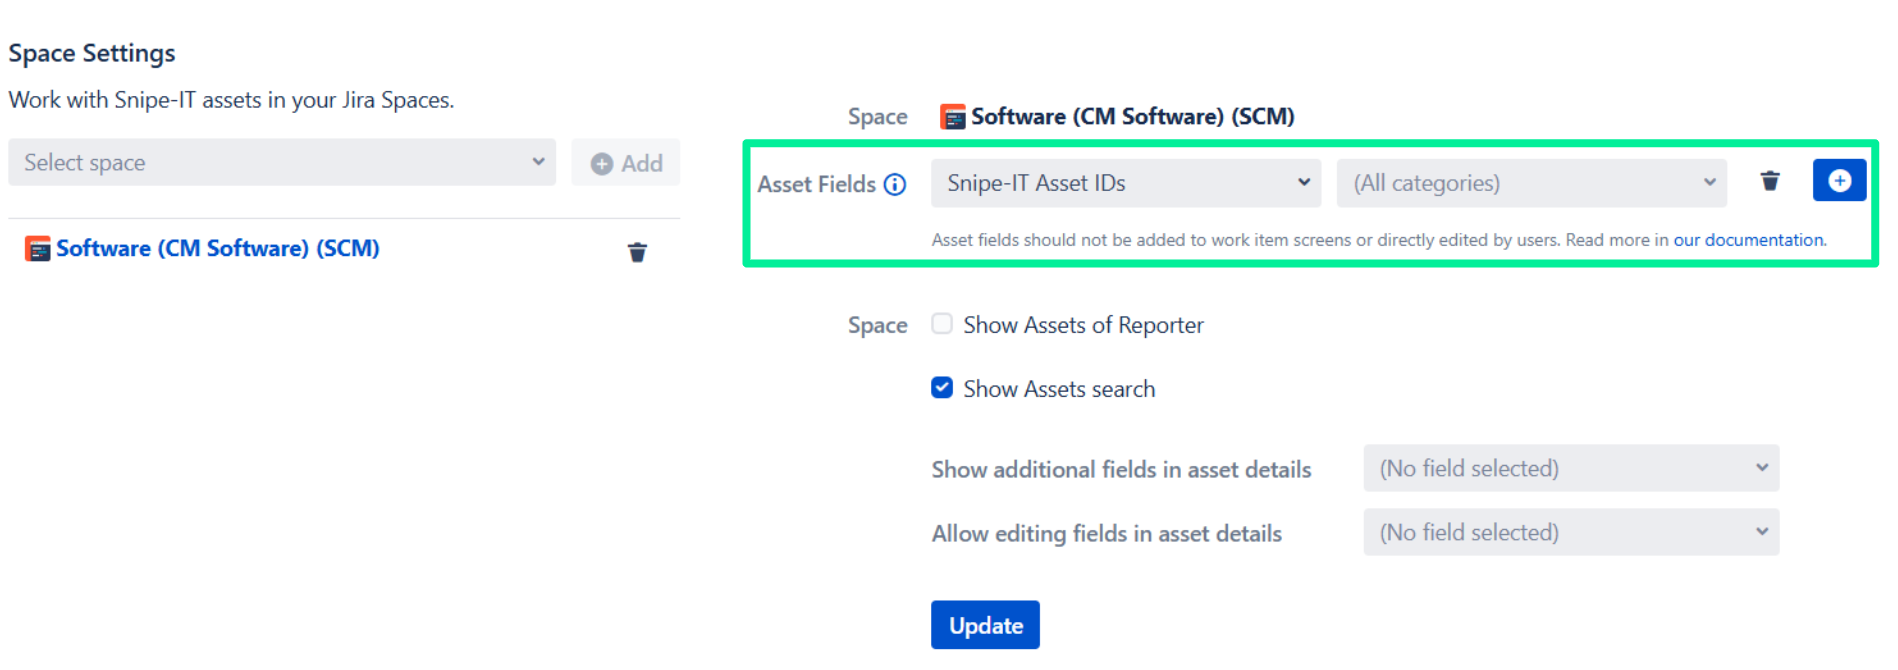
If you are moving the whole space, for example, using Deep Clone for Jira, you need to configure the space in Snipe-IT for Jira again after the new space is created on the instance. Go to ⚙️ Settings > Marketplace apps > Snipe-IT for Jira > Configuration. There you can set up the app as described in Configuring Projects. You need to make sure you select the Asset Fields option has the field selected where the Snipe-IT for Jira values are saved, as described above.