
Migration Guide
In order to use the new version of the Snipe-IT for Jira app, you have to go through a one time migration process that is split up into four separate steps.
Please contact our support if you have any question or require our assistance with the migration process.
Prerequisites
Make sure the app has been updated and uses the latest version. For that, navigate to Jira > Apps > Snipe-IT for Jira and click on the “Update” button, if available.

We recommend starting the migration outside your office hours, or notify your users to not use the asset fields during that time. This can lead to inconsistent or outdated data.
Step 1: Analysis
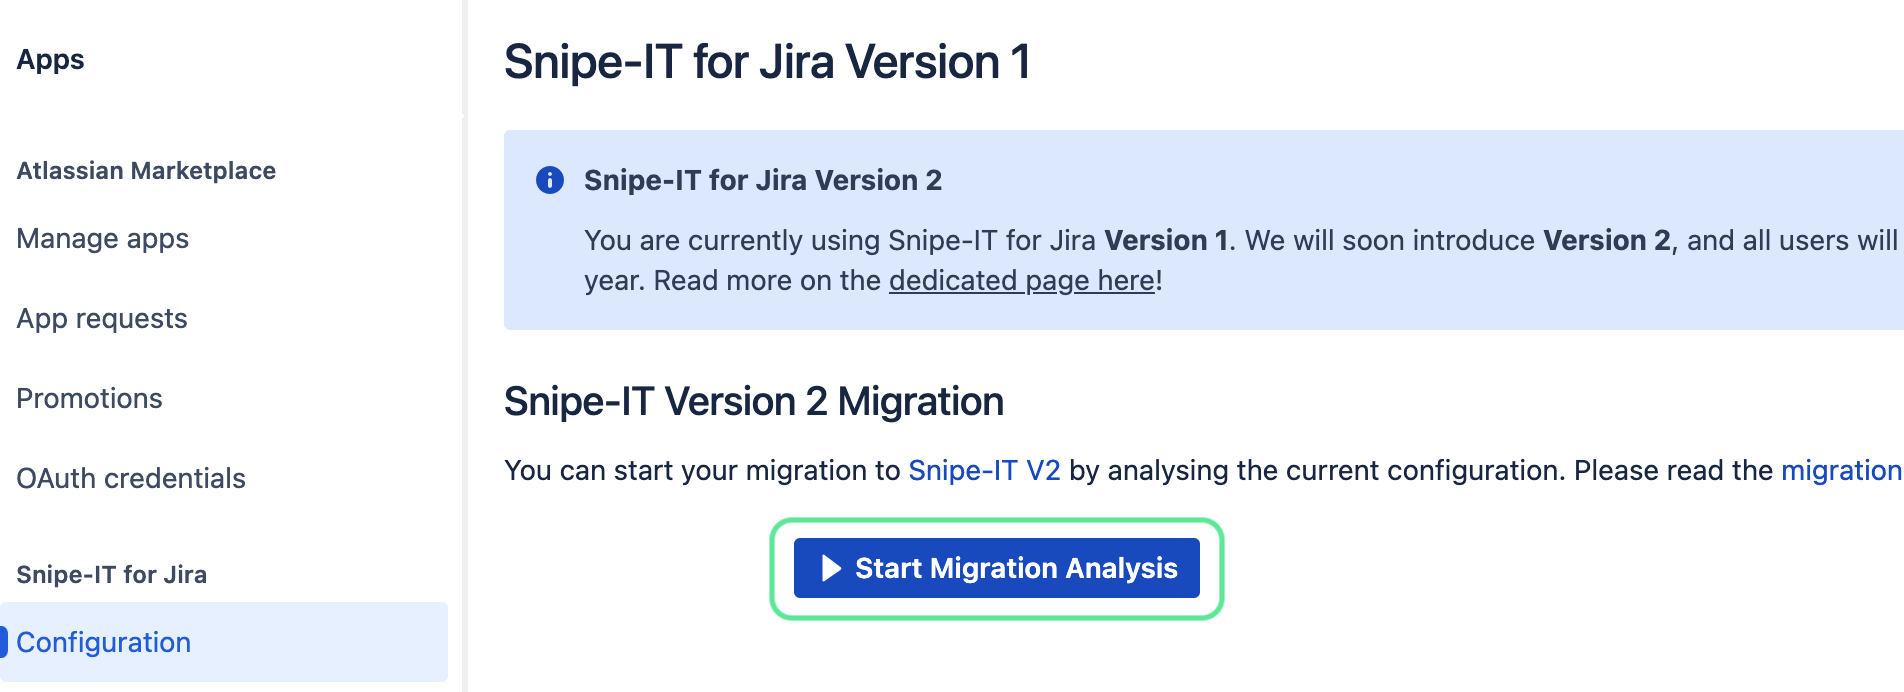
To initiate the analysis, please navigate to the Configuration page of Snipe-IT for Version and click on the Start Analysis button. Snipe-IT for Jira will gather all necessary data that is required for the migration. This may take a few minutes to fulfil.
Step 2: Review and Fine-Tuning Before Migrating
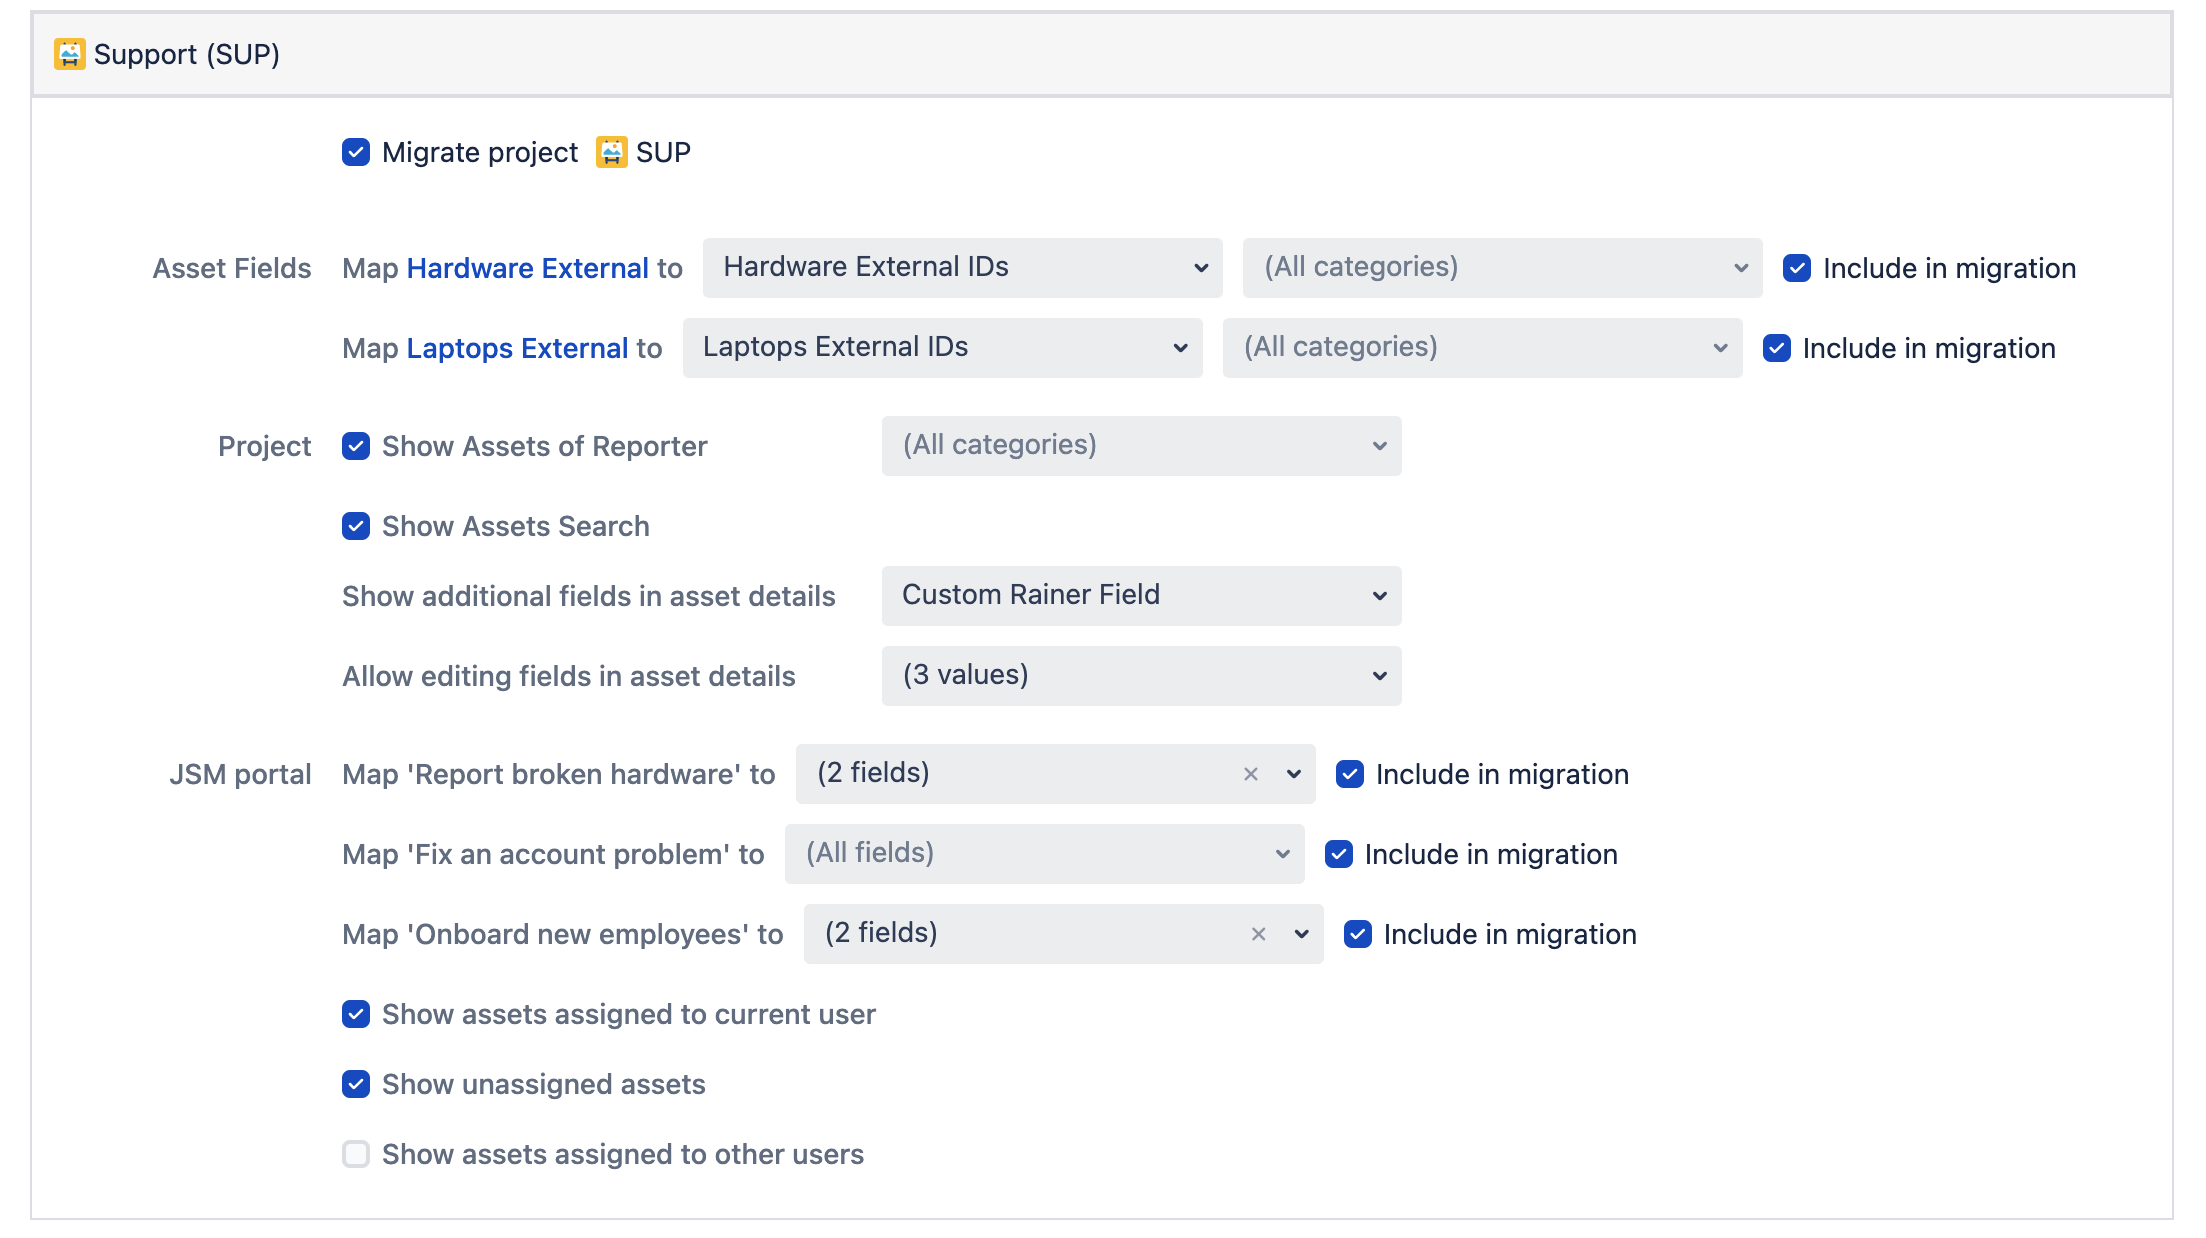
The migration section will now show all projects that have any issues that are using Jira Asset Fields or are already configured in the Snipe-IT for Jira Version 1 configuration.
In order for Version 2 to work properly, we have to migrate all existing Jira Asset fields to fields that are managed by Snipe-IT for Jira. Therefore, we will make suggestions for each field that will be migrated and provide a link to a page that will help to set up the categories for each properly.
It is possible to ignore those suggested projects, custom fields and request types to minimize the migrated data.
All other settings of the configuration are documented here.
The migration process can only be executed once. If you chose to skip fields or entire projects, and then decide afterward that these should also be migrated, please contact our support.
Step 3: Running the Migration
As soon as you are ready with all project settings, you can start the actual migration. During that time, you won’t be able to change any settings. The current progress of the migration will be displayed. At the end of the migration, we will activate Version 2 and redirect your browser to the new Configuration page.
The migration cannot be stopped or paused and will run in a background process. You can close the browser and come back later to check the status, or keep it open — the progress will be constantly refreshed.
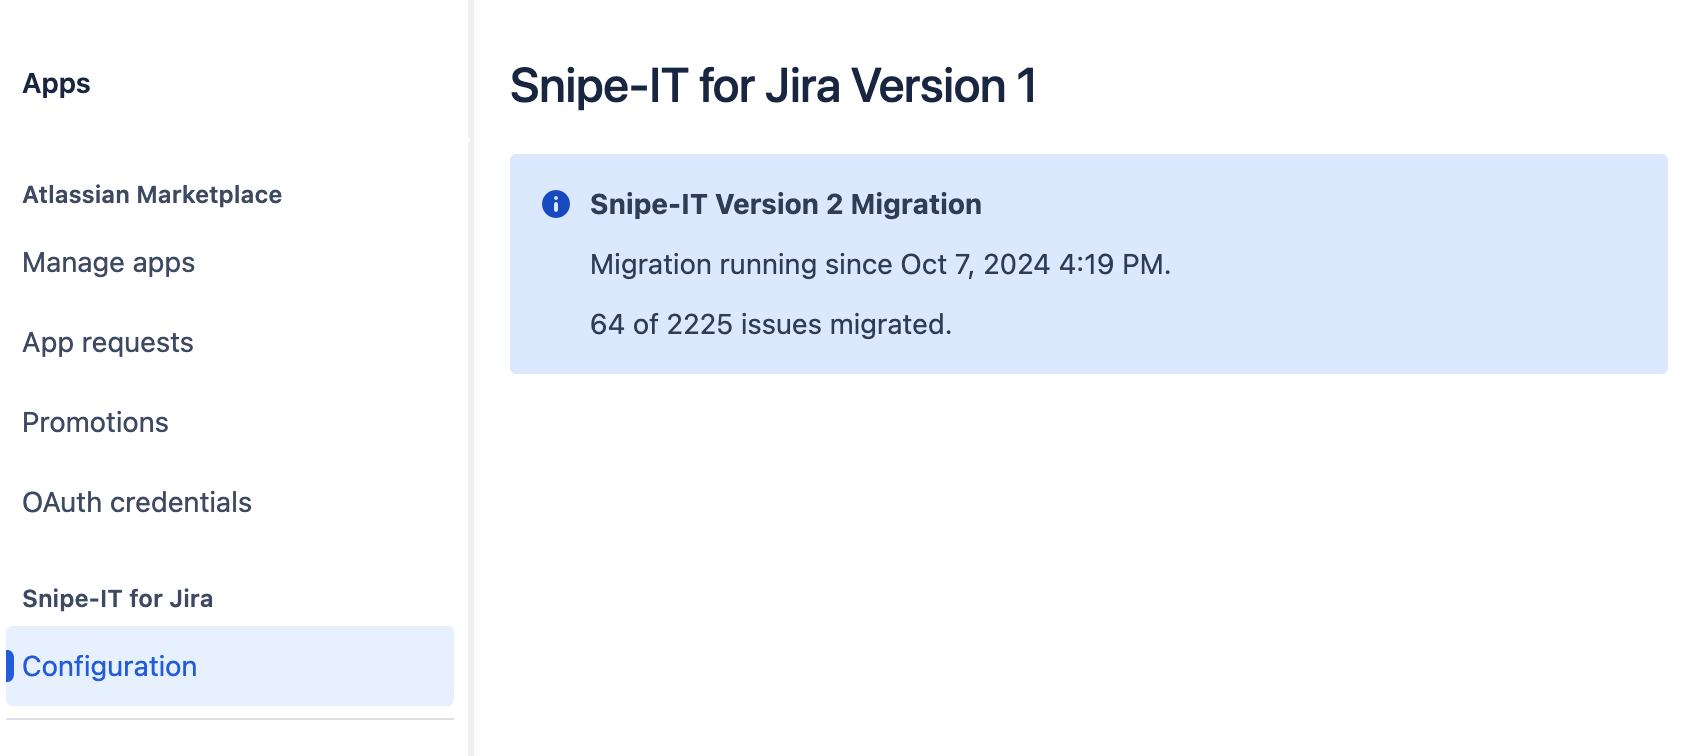
As soon as the migration is running, we will migrate all projects and issues in the background and keep you constantly informed about the progress. This background process may take up to a few hours, depending on how many issues have to be migrated.
During that time we recommend to not use the Jira Asset integration, as it can lead to inconsistent data.
Step 4: Cleaning up After the Migration
Here is a list of manual steps that can be performed after the migration. These steps are not included in the automated migration process, but are recommended:
Existing JQL filters that use the Jira Assets fields have to be manually updated
Existing Jira Automations that use the Jira Assets field have to be manually updated
Remove the Linked assets field from the all issue screens and layouts, including all request types (JSM)
Remove the Jira Asset Fields from the migrated projects to avoid any confusion
Remove the Jira Asset Fields from the migrated request types (JSM customers only) to avoid any confusion