Asset Field (Deprecated)
Synchronize your external assets into Jira and make them searchable and linkable with a dedicated customfield. Your assets get synced periodically.
Before you start make sure you have created a custom field of type External assets platform manually.
Deprecation Warning: The underlying JSM API used by this field will be shut down on 31 December 2024 by Atlassian according to: https://community.developer.atlassian.com/t/shutdown-notice-update-on-deprecation-of-the-external-asset-platform/81193
For further information and guidance on the necessary actions to follow, please refer to the following link: [Action required] Asset Field Migration
As an alternative to the External Assets Platform, we are excited to introduce a new field called External Data - Asset Field.
For detailed information on how to utilize the External Data - Asset Field and to explore its capabilities, please visit our Extension Asset Field Guide.
How it Works
Jira now has a native custom field of type External assets platform which you have to create to use this feature. You can create it either in the Jira settings or with the App in the tab Available Jira Fields.
After creating the field you have to define a repository of assets. The repository cannot be dependant on other field values and must be complete. This is because an asset repository gets synchronized with Jira as a whole in specified intervals.
Using the asset field on screen
Now you can add the field to any screen to link your assets:

Inspect already linked assets
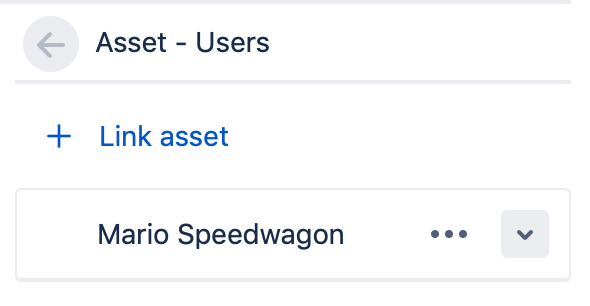
You find all linked assets on the right side of an issue view

Asset link management
After entering the asset panel you can add additional assets or remove already linked ones

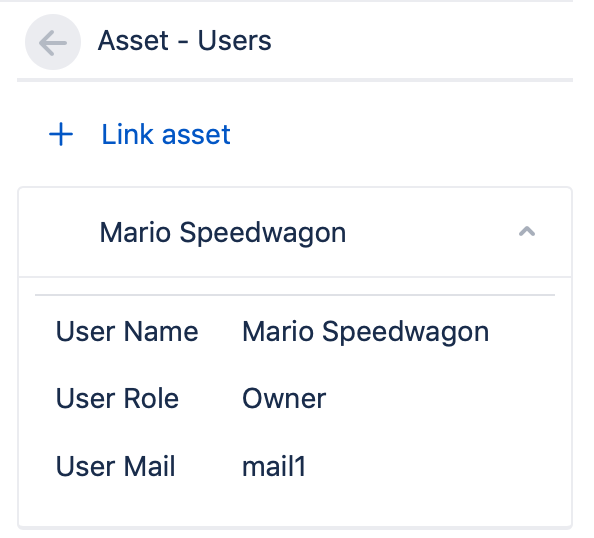
Detail Panel
Also a custom designable detail panel is available to view more details of an asset

Configuration
Data Source
After selecting the data source you see the raw result. From now on we take the following JSON data as a starting point:
{
  "userlist": [
    {
      "id": 1,
      "name": "Mario Speedwagon",
      "username": "mario"
    },
    {
      "id": 2,
      "name": "Anna Sthesia",
      "username": "anna"
    }
  ]
}
Select List Repository
Select the result set of objects to use as asset repository by using the JSONPath Syntax. It is important to understand that the repository must contain the complete data set that you want to offer.
In this example we want to select all users with
$.userlist[*]ID Field
ID stands for Identifier and must be a unique number or string that identifies an asset in the data set.
As ID we choose the unique field “id”:
$.idor a combination of fields
prefix_{$.id}_{$.region}The ID must be unique throughout the instance. Keep this in mind if you want to create multiple asset fields that use the same ID ranges. A workaround would be to add a simple prefix before an ID.
No whitespaces are allowed in the ID field
Custom sorting of the values is not support. The values will automatically be sorted by the ID field.
Label
The label should be a human readable text that stands representative for the asset. This value will be used while searching for an asset and as a asset summary. It must not be unique, but should be representative for the asset.
The Label can be a single JsonPath like
$.nameor a combination of fields
{$.name} - {$.username}Allow Delete
Activate to allow deletion of assets that are missing in the original data source. To ensure that too many assets are not accidentally deleted you can define Max Threshold, which is the amount in percent of the total assets that can be deleted at a time. If an asset is deleted but still associated with an issue it will be marked as an Unknown Asset. If the asset is later added back with the same ID, the relationship is maintained.
Max Threshold
Define the threshold value in percent that may be deleted at most. A value of 10, for example, allows a maximum of 10% of the total number of objects to be deleted at any given time. Anything above this will result in an error.
Detail Template
This Template will be shown when looking at the asset from within an issue and can be formatted with HTML and mustache. Insert any value from your data source with mustache syntax. All CSS classes from AUI can be used inside the template to fit well into JIRA. An Example for the data above is:
<table class="aui aui-table-list">
 <tr><td>User ID</td><td>{{ id }}<td></tr>
 <tr><td>Full Name</td><td>{{ name }}<td></tr>
 <tr><td>Username</td><td>{{ username }}<td></tr>
</table>
Using Multiple Asset Fields
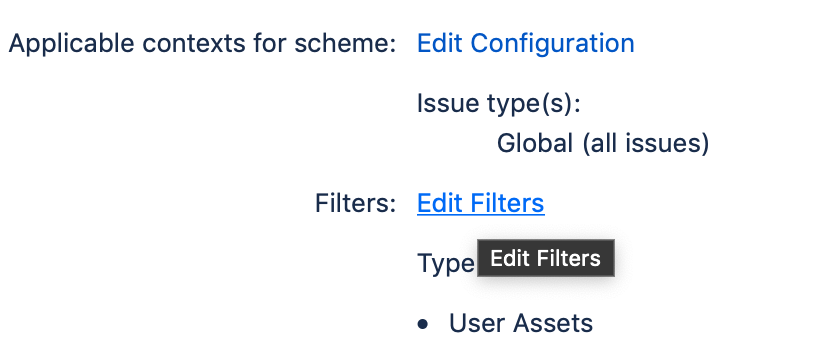
You can also use more than one asset field by using the filter function of the native External assets platform field. Go to Jira settings > Issues > Custom fields > Select the External assets platform field and select configure in the action panel of the custom field.
Select Edit Filters on the following screen

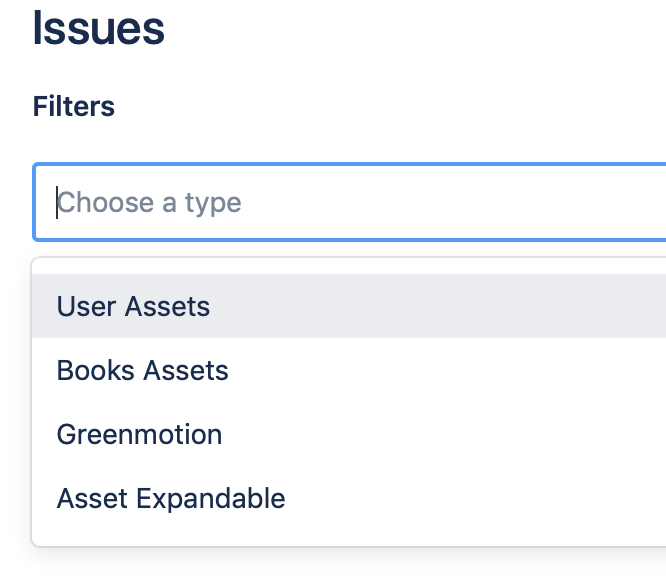
Search for the name of the custom field you want to filter the asset field to

Limitations
Due to Jira API restrictions each asset field has a limit of 10.000 asset.
As a workaround you can create multiple asset fields and combine them back to one set by configuring the context filter that you find in the custom field configuration section.
The External assets platform field don’t work well in Dashboard Gadgets.
Custom sorting of the values is not support by the native External assets platform field. I will automatically sorted by the ID field.
