
In External Data for Confluence, the panels are the key components that allow you to access, filter and display external data directly in your Confluence environment. The app provides different panel types, each offering unique benefits depending on your project and the type of data you're handling. This guide will walk you through the configuration, use, and effective management of these panels.
How to Setup a Panel
Before setting up a new panel, please ensure you have an existing data source from which to pull data.
1. Add a New Panel Configuration
Navigate to the desired page in Confluence and click the Add Panel button.
2. Specify a Variable (Optional)
Variables in External Data for Confluence are dynamic placeholders. They are used to customize and filter data that is pulled from external sources, allowing for personalized contextual information display. Find out more about the use of variables here.
You can also use common user-specific variables. For example:
-
Account Id:
$.user.accountId
Identifies the unique account ID associated with each user. -
Email Address:
$.user.emailAddress
Shows the user's email address, depending on their privacy settings. This field might be empty due to GDPR compliance. -
Display Name:
$.user.displayName
Displays the name the user has set for themselves within Confluence. -
Active Status:
$.user.active
Indicates whether the user's account is currently active. -
Public Name:
$.user.publicName
The name displayed to other users in public areas of Confluence.
3. Select a Data Source
Select your preconfigured data source from which you would like to retrieve data. Learn more about data sources here.
4. Set Filters (Optional)
Filters in External Data for Confluence are used to refine and narrow down the data that is fetched from external sources before it is displayed on your Confluence page. Filters act as criteria that can be set to include or exclude specific data based on defined parameters. The purpose of using filters is to ensure that the data displayed is directly relevant to the user. Detailed guidance on filters can be found here.
5. Define a Visual
Visuals in External Data for Confluence are the options used to display retrieved data on your Confluence page. They include various formats such as tables, charts, graphs, and custom layouts. They help you organize and present your data in a visually appealing and understandable way.
You can choose from the following Visuals:
Charts: The chart feature in External Data for Confluence provides you with the option to visually display external data using different chart types.
Tables: External data for Confluence allows you to display data in the form of a customizable table within your Confluence project that also includes a search function and pagination to manage large data sets.
Templates: Using the template function in External Data for Confluence, you can fully customize the display of your data using HTML templates.
Data Provider: This feature allows External Data for Confluence to serve as a data provider without requiring a visual representation such as a table or chart.
How to Add and Remove Panels from Your Confluence Page
To incorporate a Panel into your Confluence page:
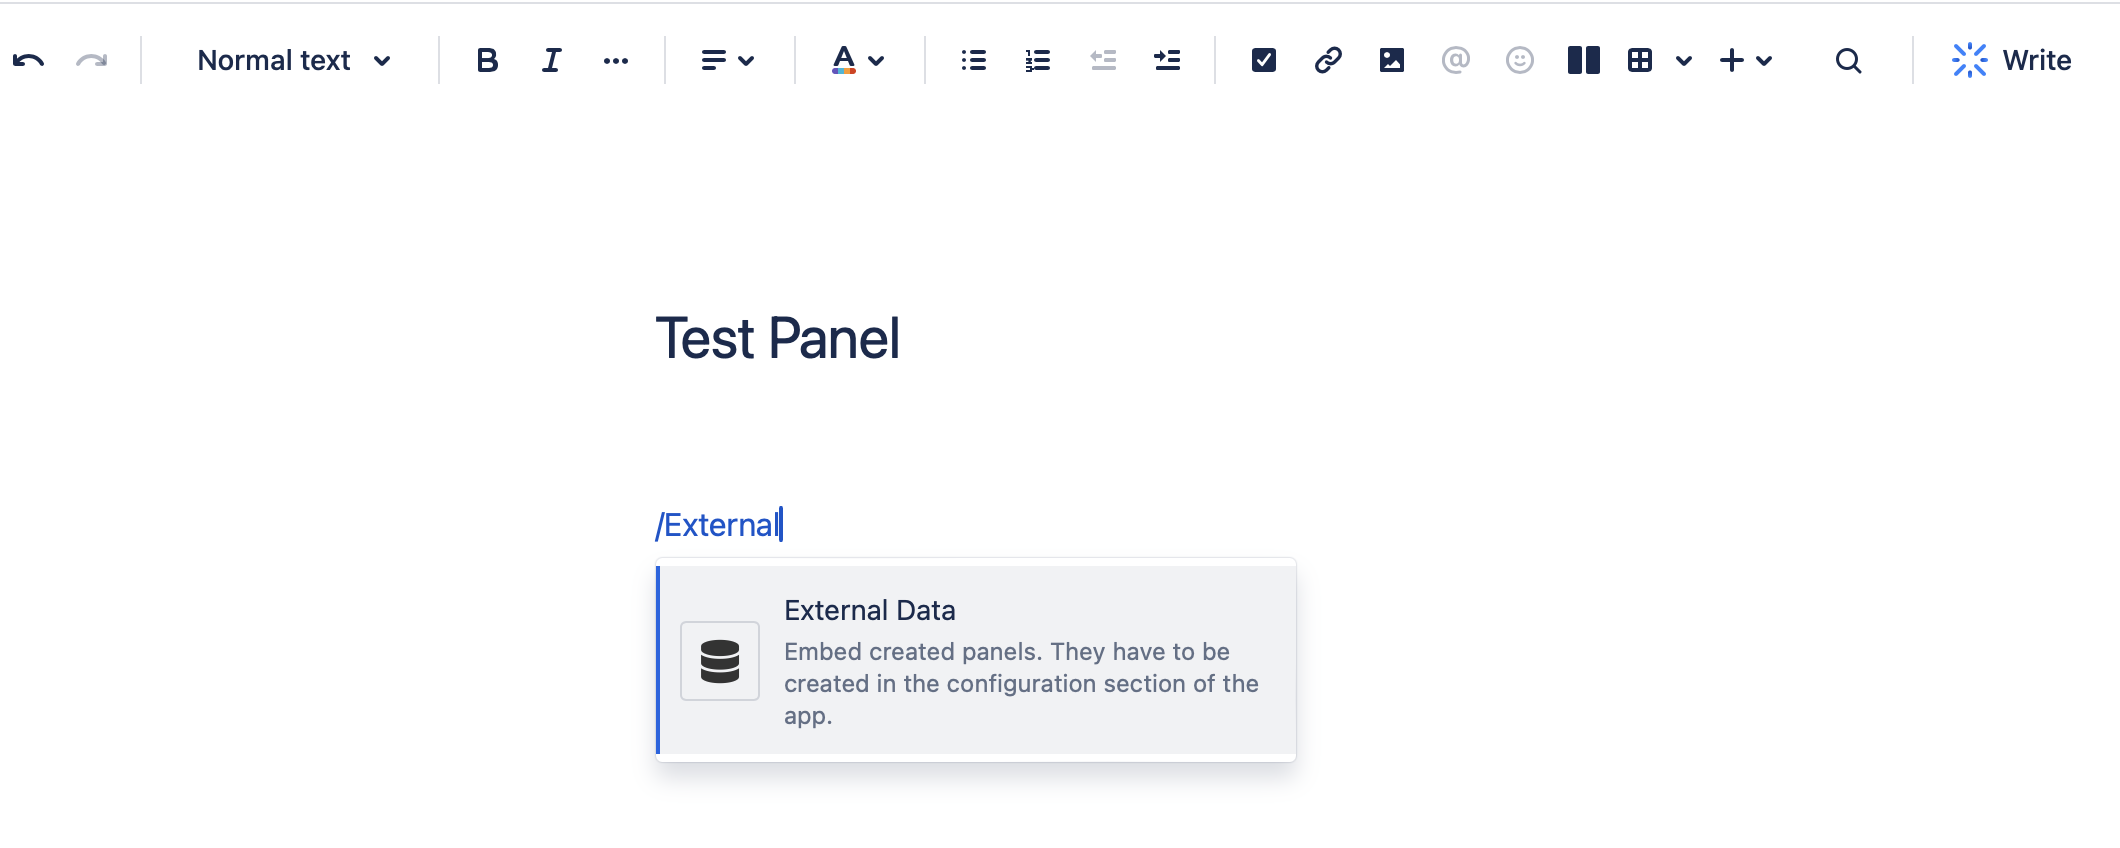
-
Begin by typing a forward slash “/”.
-
Then, type 'External Data' on your Confluence page.
-
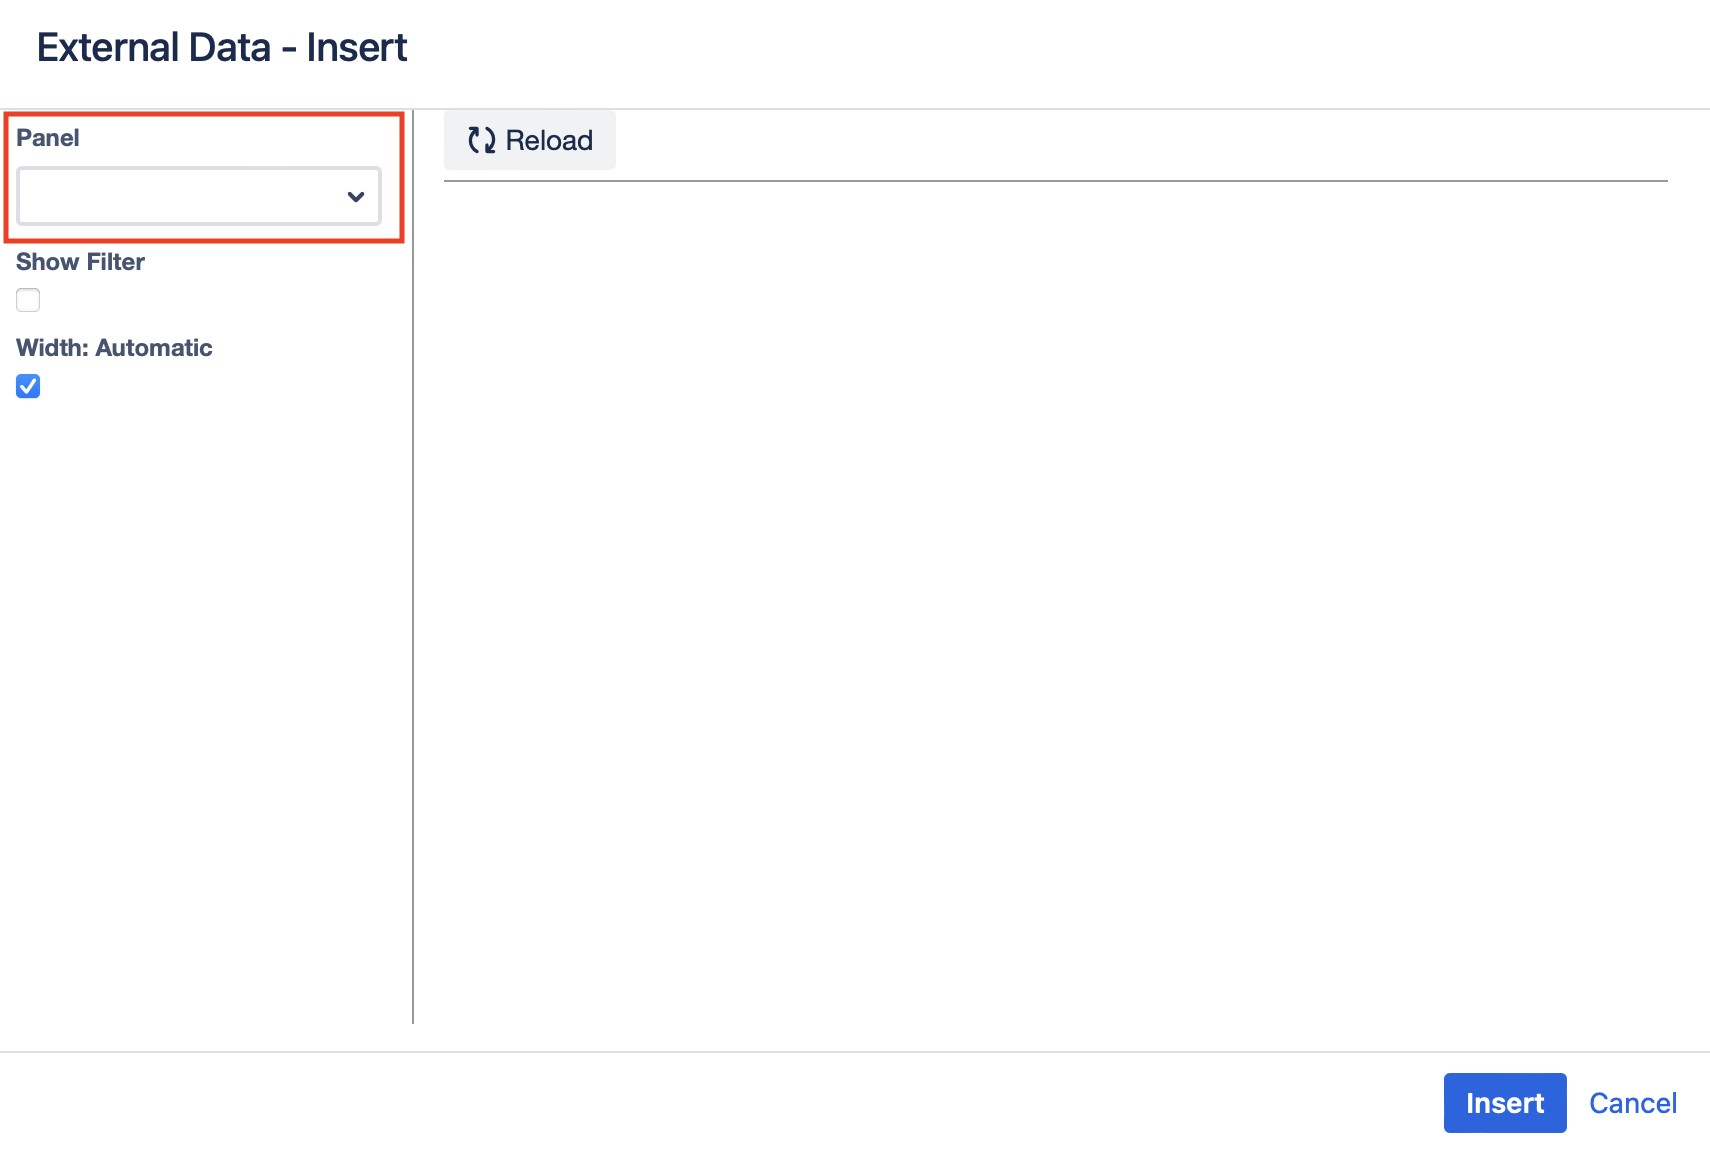
This action will direct you to the Insert-External Data embedded UI."
At this point, you'll find the option to insert the Panel. Here, you can choose from the list of configured Panels that you'd like to display on your Confluence Page
To delete a panel, navigate to the panel settings in the Application Configuration and select the delete option. It's important to note that removing a panel will disable any content dependent on it on your Confluence pages.
Table Extensibility Support
Table Extensibility Support
External Data for Confluence supports the Table Extensibility feature of Atlassian Confluence. This feature allows External Data for Confluence to serve as a data provider without the need for a visual representation such as a table or chart. For more detailed insights into how Table Extensibility works and how to leverage it in your panels, please refer to the dedicated section of our documentation here.